Got a blank wall that you’re not sure what to do with? Here’s how to build an easy art feature wall using what you probably already have!

I dug around the unpacked boxes in the basement and attic of random photos and frames, and pulled out all the ones in black frames and black/white prints. I then arranged them on the floor.

While I chose similar items, you can tie various pieces together through similar frames, matting, shapes, colors, etc. And it’s o.k. to mix and match! Follow your gut on this – it’s YOUR wall.
We made a level chalk line along the top of the wall.

And started with the two top corners pictures first.

Next, we filled in the top row, followed by the sides going down.

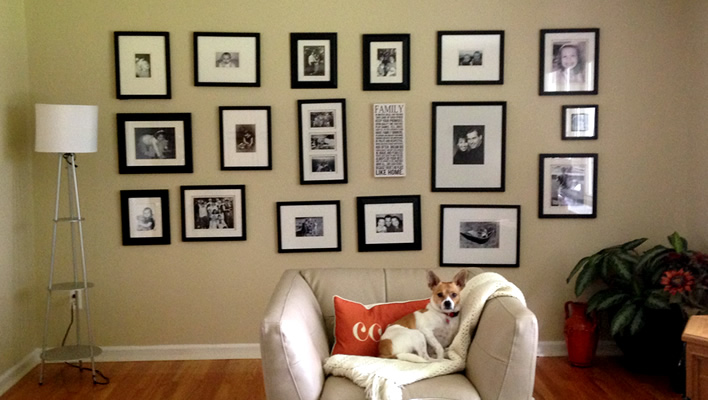
And then we filled in the rest. We were not looking for perfection. I like the randomness of the widths and heights. We left the bottom open for new memories.

Because this is a long room, having a feature wall at the end squares the room visually. Here is the view from the foyer.

We’re looking forward to adding memories to this wall!
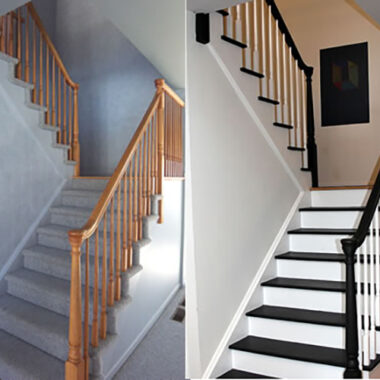
More coming soon on the before and after of this living room!
Where have you hung a collection of art? How did you do it?


4 comments
lol – Yea, I know. I still have to pick up some tack putty to make them behave better. I was just excited to get the post up because it was so much fun to do!
Randomness of widths and lengths, ok, But they’re crooked.