
 Meet Laura. She has lived in her 1966 New England colonial EXACTLY 10 years and 2 days. She wanted to celebrate with a new kitchen in time for the holidays. But…she didn’t want to spend over $500 to do it.
So she turned the creative readers of YHOB to get some ideas on how to proceed. And quite frankly, you blew her away! Click here to see her before pics and your amazing ideas!
She was so energized by your innovative suggestions that she jumped right in! Plus, it helped that she felt accountable to all you for your thoughtful ideas! She just HAD to come through! 😉
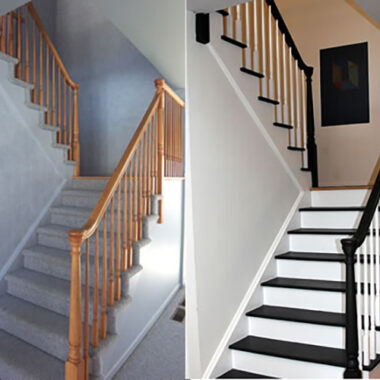
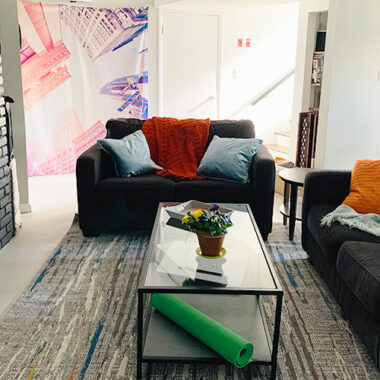
Before
Here are her “before” pics (keep reading to get to the “after” pics):


The Plan
Here’s the plan she came up with YOUR help!
Functionality – Admittedly, she first had to deal with the functionality of her kitchen. It’s a small space that wasn’t very forgiving of clutter. The answer? Zones! She set up a morning coffee zone (priorities!) and a “get the kids ready for school” lunch zone. Now she’s as organized has her handy dandy label maker!

Another bonus…by taking everything OUT of her kitchen for this project, it forced her to thoughtfully evaluate each item’s necessity as she put it back together.
Style – Her home was built in 1966, and she wanted to retain the original feel of the decade, but in a more updated fashion. Her vision: modern retro!
Walls & Trim – After saying farewell to her border, she went with pale earthy green walls (BM Morning Dew) and charcoal trim (BM Cinder) on the doors and windows.

Cabinets – she painted the upper cabinets and walls BM Morning Dew, and continued it up the wall to give more height to the room. She anchored the room by painting the lower cabinets black (BM Black), which really made her stainless appliances pop! For the 2 cabinets over the planning center, she used chalkboard paint. She also added new brushed nickel pulls and knobs for a bit of bling!

Backsplash – she used paintable bead board wallpaper (from Martha Stewart) for the backsplash. Fast and affordable…and hopefully durable! She painted it the same BM Morning Dew as the upper cabinets and walls to give it a more open feel.

Countertops – While the countertops and floor were not supposed to be a part of this project…well, something bad happened to the counters when they tried to remove the old backsplash. Luckily, Home Depot was having a pretty good special on Corian, so they punted and added new countertops. To be fair, we won’t count that as part of the $500 project cost.
Lighting – she added LED puck lights underneath the cabinets, and a new stainless pendant over the sink.

Storage – perhaps one of her biggest challenges was either: 1) not having enough storage space, or 2) having too much stuff. Ok, it was a bit of both. So we came up with some storage solutions! She replaced the table with a storage kart from Crate and Barrel. Ok, admittedly that would have taken up her whole budget, so she worked the Christmas angle and got it as a gift (very resourceful, don’t you think?). Lesson learned – it pays to be on the “nice” list!
She also added a pot rack on the wall over the kart. By doing this, she was able to eliminate the tall open shelving that was rather stressful on the eyes.

She added two curved floating shelves to display a couple sentimental accessories – she bought them in white and painted with Cinder trim paint.

Seating – she had two plain wood barstools sitting idle in the basement. So she got her kids involved and let them each design their own stool to add a splash of color and personality. They look great with the kart!

Accessories – by using what she already had, she saved money AND kept it personal. Her favorite Kitchenaid mixer, Pillsbury cookie jar and favorite red holiday plate now take center stage. She did, however, add what is my FAVORITE part of the kitchen…are red retro wall phone!

The Budget
Here’s the breakdown:
- Paint and supplies: $300
- Backsplash: $25 for Martha Stewart’s paintable bead board wallpaper (per roll…used half a roll)
- Lighting: $60
- Cabinet Hardware: $60
- Accessories: $90 (she used much of what she had, but added the retro red wall phone, new switch plates, and a couple wall accents)
- Furniture: $0 – she scored an amazing Christmas present (well done, Laura!)
- Storage (pot rack and corner shelves): $140 – got a $50 gift card toward the pot rack don’t know if that counts
- Labor: $0! Yes, she spent ~150 hours over a 4 week time period, but what a labor of love, huh?
Total: $625 (ok, so just a smidge or two above her goal…but don’t you think the after pics are worth it!?!?!?)
Note: we’re not counting the unexpected cost of the countertops since they were not supposed to be part of this project.
Ok, ready for the amazing “After” pics?


Still with me? To reward you for making it all the way to the end of this long post, here’s a little movie about her journey!
Laura’s New Kitchen
Thanks to all who helped make her dream kitchen a reality, and GREAT JOB Laura!
Any questions for her?


8 comments
Hi there! Thanks!! The counters are Corian – Home Depot had our color on sale for $39 (down from $52) per square foot.
pretty kitchen… what did the counter tops cost… they make the kitchen!
WOW! It doesn’t even look like the same kitchen. Great job. Thank you Susan for posting the afters. I’ve been waiting to see them. Laura must be overjoyed with her “new” kitchen. She did indeed score some great deals!
I LOVE before and after Kitchen projects! I dream of the day i can get mine done but i dont want to put in the money or the work 😉
Looks incredible!! GOod job.
Love it, Laura! I am so excited for you!!! It looks fabulous!!!
Ok, this has to be one of my all time favorite before and after’s. The new and improved kitchen is AWESOME and it must be a joy to wake up to each morning.
Fantastic, and clearly she is a woman of fine taste as I have the same oven! And lucky for her she is crafty and was able to do alot of the work herself…I envy those with that ability!