From Plain to Pesto – an Office Cabinet Makeover 02/08/13 | All About Color, Before & After, Decor, My Homes, Room by Room, Sandy Hook, Work Spaces
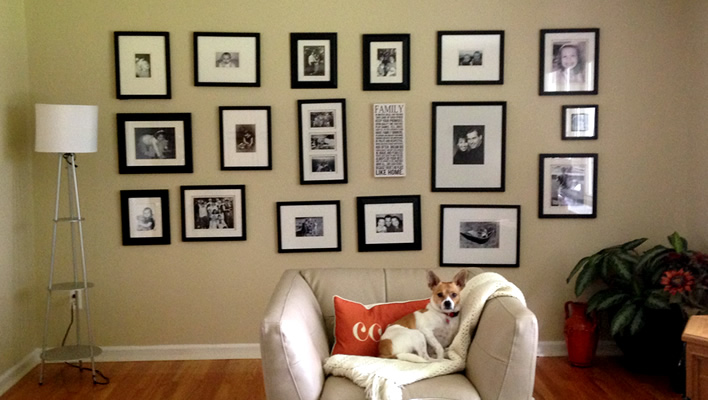
Family Room Move-in Makeover 03/25/11 | Before & After, Decor, Home Improvement, Lion House, Living Areas, My Homes